
Most self-cleaning vibrating screen failures aren't about the screen itself — they're about bad installation. A perfectly good deck will underperform, wear out fast, or even crack if you skip the basics. Here are the five steps that separate a smooth setup from a headache you'll regret in three months.
Step 1: Prep the Foundation Before You Touch the Screen
Don't rush this. The self-cleaning vibrating screen sits on a foundation that needs to be level within 2mm across the entire frame. Use a laser level, not a bubble level ,bubble levels lie on vibrating equipment. If your base plate isn't flat, every bolt you tighten later is fighting against a crooked frame. Fix it now or replace the screen later.
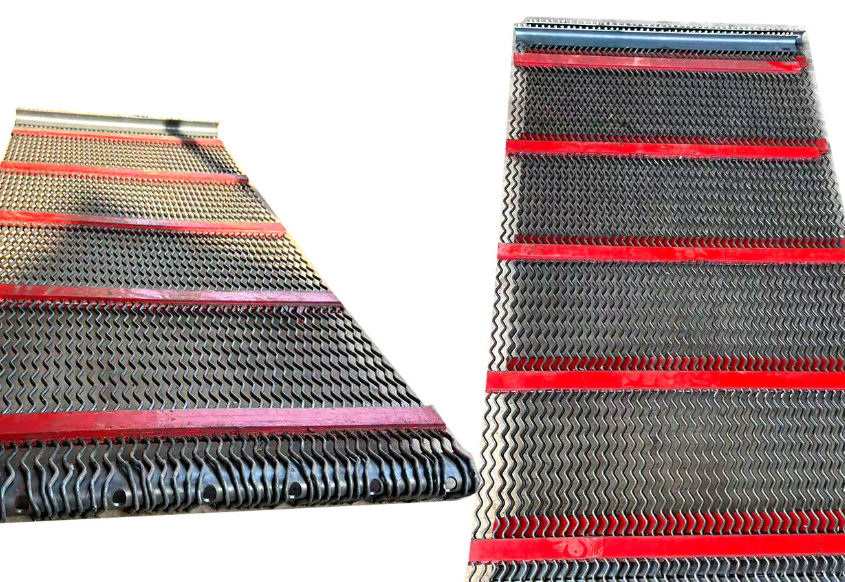
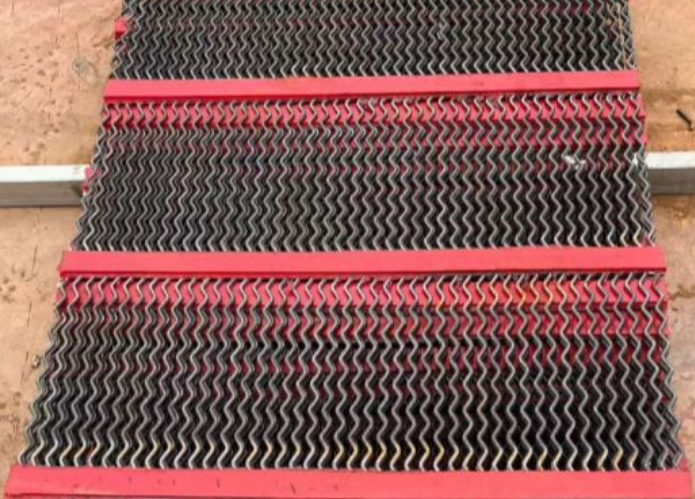
Step 2: Install the deck using the correct bolts and sequence
During installation, 8.8 grade or higher bolts must be used. When tightening the bolts, they should be arranged in a star shape from the center outwards to prevent the screen from deforming under clamping load. Most self-cleaning vibrating screens have pre-drilled tension holes, which can be used directly. If you drill the holes yourself, you may not be able to accurately locate the position, resulting in improper screen installation and affecting the performance.
Step 3: Tension the Vibrating Screen Deck Evenly
This is where most operators mess up. Pull the screen to the recommended tension , typically 15-20 kN/m for polyurethane panels, 10-15 kN/m for steel wire. But here's the trick: check tension at four corners and the center. If the center reads 18 kN/m and a corner reads 12 kN/m, you've got an uneven deck. That causes tracking issues and premature wear right where you don't want it.
Step 4: Align the Vibration Motors Before Powering On
Before you flip the switch, spin both motors by hand. They should rotate in opposite directions and produce a straight-line vibration, not a wobble. Misaligned motors on a self-cleaning vibrating screen don't just reduce efficiency , they will aslo destroy the screen cloth in weeks. Use a strobe tachometer if you have one. If not, watch the material flow: it should move evenly across the full deck width.
Step 5: idle the engine First, then gradually add fuel
Never dump full feed onto a fresh install. Run the self-cleaning vibrating screen empty for 15-20 minutes first. Listen for unusual noises, check bolt torque again, and confirm the self-cleaning mechanism is cycling properly. Then introduce feed at 50% capacity for the first hour. Full load comes after everything checks out.
Skip any of these steps and you're not installing a screen—you're setting up a failure. Do it right once, and your self-cleaning screen will run clean for years.
Leave a Message