

If you're losing fine material — valuable concentrate or abrasive dust — from the sides of your vibrating screen, the problem usually isn't the mesh. It's the gaps between the screen panel and the deck frame. The design for screen side sealing strips exists to plug those leaks, but a poorly chosen or worn-out strip is just a placeholder for fines to sneak through. Getting the design right from the start and knowing how to replace them without a production day wasted are two of the most underrated skills in screening maintenance.
Key Design Principles for a Leak-Proof Seal
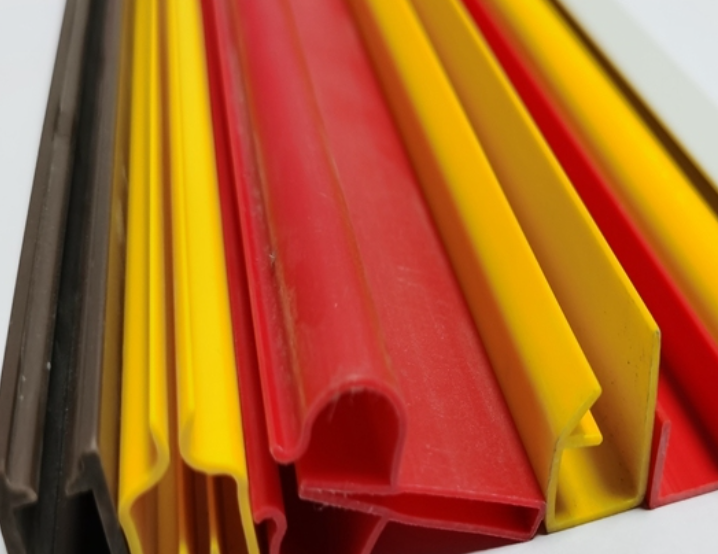
The design for effective screen side sealing strips focuses on three things: flexibility, compression, and abrasion resistance. A good strip is made from high-grade polyurethane or rubber with a Shore hardness of 70-90A — soft enough to conform to deck imperfections but tough enough to resist cutting from sharp-edged feed. The cross-section is critical: a bulb or lip profile creates a positive seal when compressed by the clamping system, forcing material back onto the deck. For high-temperature applications, heat-resistant EPDM rubber is a must to prevent hardening and cracking.
Why Standard Strips Fail And How to Spot It
The most common cause of fine material leakage isn't a lack of sealing strips; it's using the wrong type or one that's worn out. A strip that's too hard won't seal gaps; one that's too soft extrudes under pressure and tears. Failure signs are visible: visible gaps between the strip and the side plate, a buildup of fines on the deck frame, or the strip itself showing deep grooves, cracking, or permanent compression set. Once the sealing edge is worn flat, it's no longer doing its job.
The Step-by-Step Replacement Method That Works
A proper replacement method for screen side sealing strips is straightforward but demands attention to detail. First, isolate and lock out the screen. Remove the tensioning bolts and lift the old screen panel. Clean the channel on the deck frame thoroughly — old adhesive and packed fines are the enemy of a new seal. Lay the new sealing strip into the channel, ensuring it sits flat without twisting. Some designs use adhesive, but most rely on the compression from the reinstalled screen panel. Tighten bolts in a star pattern to apply even pressure and avoid creating low spots. Finally, run the screen empty for a few minutes and visually check for any new leakage points.
If fine material leakage is costing you product or creating a dust hazard, the solution starts with the right sealing strip. Share your screen model and the material you're processing—we'll recommend a design for screen side sealing strips that fits and provide a clear replacement method to get you back online fast.
Leave a Message